Let’s get started – Floor Dimensions

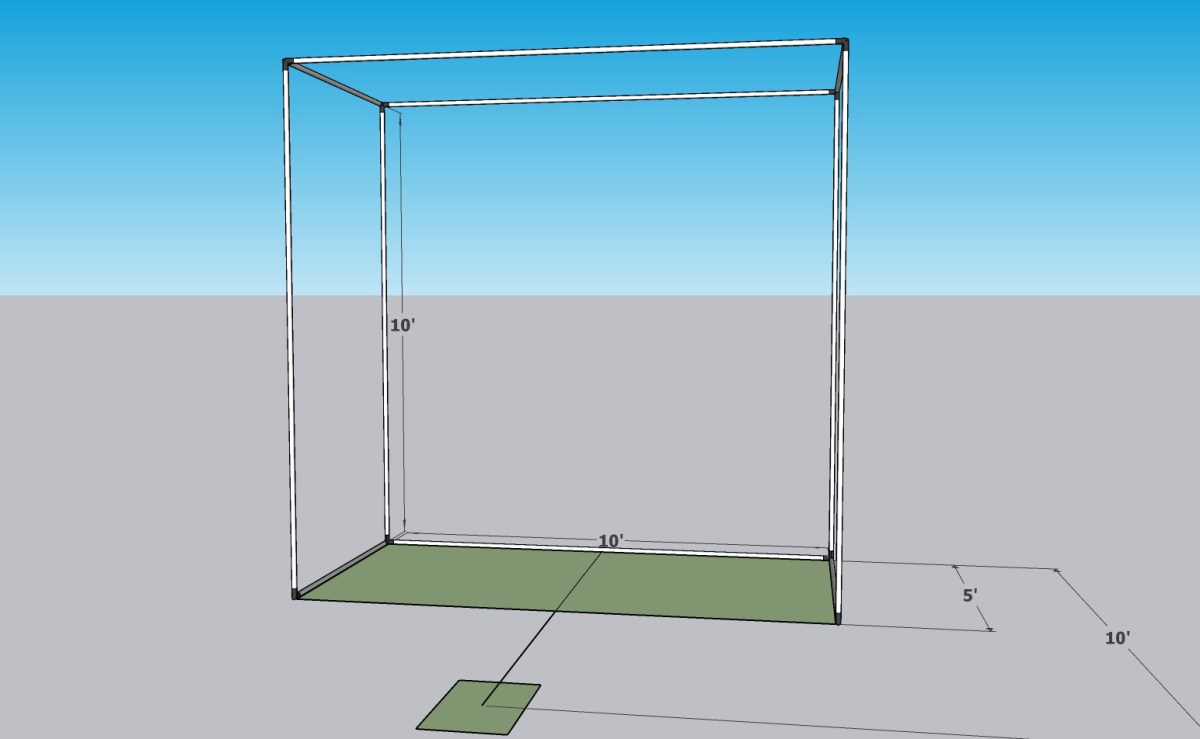
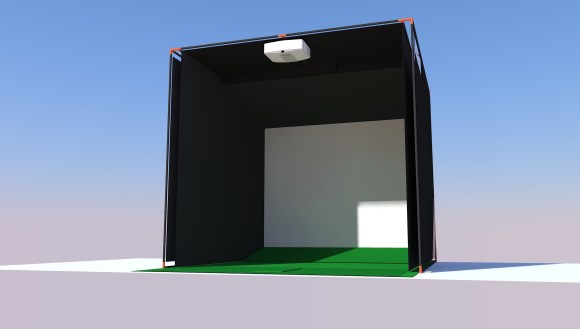
The first step to building a DIY golf simulator is figuring out the floor dimensions you have to work with. These can be any size you want, for this example I chose to design a small simulator with a 10 foot wide screen and the frame to be 5 feet deep.
Width is going to be your screen size, depth is how deep the enclosure will end up being. The depth is key because you want it deep enough to prevent an errant shot (shank!) from damaging anything in your home. I wouldn’t suggest anything less than 3-4 feet of depth.
The final floor dimension to take into account is the ball to screen distance. If you have a camera based launch monitor, you have the flexibility to shorten this up. In this example I am using 10 feet from the center of the hitting surface to the screen, which is a good starting point. It gives enough distance for the ball to not bounce off the screen and hit the golfer. If you have a radar based launch monitor, see the manufacturer recommended distance here, as the radar needs to monitor the ball flight for a minimum distance to get accurate readings.
Source Building Material – Build a DIY Golf Simulator

Once you have your dimensions sorted out, now you can source your material to build your DIY golf simulator enclosure frame.
I suggest using 1″ EMT metal conduit, it is easily sources from your local Lowe’s or Home Depot, its fairly inexpensive for a building material and its strong enough to hang your enclosure fabric, projector and launch monitor without sagging. It also normally comes in 10 foot lengths, convenient! You can use a wide variety of materials to frame out the enclosure, such as wood or steel/aluminum pipe as well.
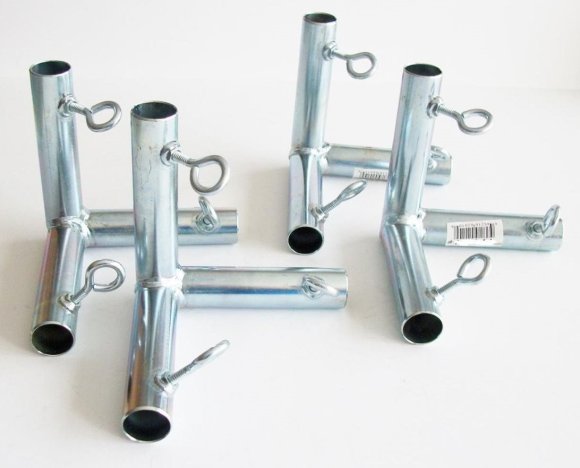
To tie all the 1 inch EMT conduit pipe together, you are going to need some corner fittings. The fittings on the image above (left) are 3-way corner fittings, you will also need some 2-way L fittings. You can find these from tarps.com at a good price. I will include a list of the quantity and type of fittings, and the length of pipe needed, later on in this article.
Assemble the Base of the Frame

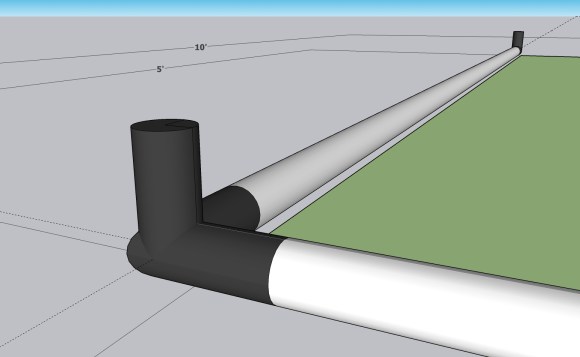
Here is where some math comes into play, so measure twice! Prior to cutting down your pipe, see how deep the pipe fits into the corner fitting, you want the top interior edge of the 3-way corner fitting to be 10 feet from the opposite fittings interior edge (width side), so your 10 foot screen fits perfectly later on. I strongly suggest doing some test fits, and marking the pipe with a marker prior to cutting, or else you may need to make another trip to the hardware store… ask me how I know. You may get lucky and not have to cut down your 10 foot length of pipe.
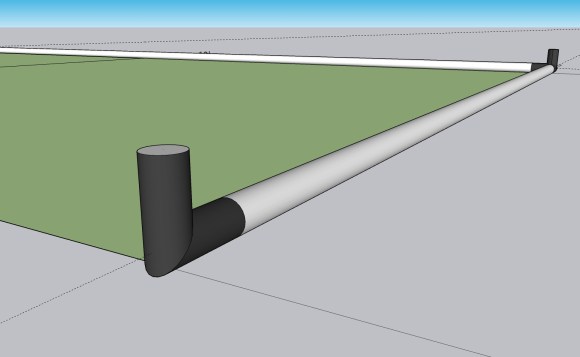
Now you can secure your 1″ EMT conduit pipe, to two 3-way corner fittings in the back (screen side), and two 2-way L fittings on the front side (towards the golfer). Congrats, you have the foundation of your new DIY golf simulator laid!
How to Build a DIY Golf Simulator Pt. 2
Subscribe below to get an email when Part 2 of “How to Build a DIY Golf Simulator” is posted. Coming Soon!
